How to stream games from your gaming PC to any device in your home without a subscription
In this guide, I walk you through how I set up my gaming PC to stream games with super low latency over my home network so I can play games on my TV and other devices anywhere in my house.
Over the past several decades, if you wanted to play a video game on your living room TV, you probably hooked up a gaming console directly to your TV, and thus emerged generations of entertainment on platforms like Nintendo, Xbox, Playstation, and Sega. Consoles typically offered some of the best gaming technology at price points you simply couldn't achieve with a PC (not to mention console manufacturers intentionally bearing losses to establish their proprietary ecosystems).
Since then, there have been some really cool developments in cloud gaming services – these are products like Google's Stadia, NVIDIA's GeForce Now, and similar offerings from PlayStation, Xbox, and Amazon. The idea is that your "console" is now hosted in The Cloud (which is a fancy way to say that it's running in some company's data center), so all you need to do is have high-speed internet, buy a relatively cheap client device like a Google Chromecast, plug it into your TV, and off you go. Another potential bonus is that, rather than purchasing individual games, you can pay a subscription fee to get access to a broad catalog of games.
I think cloud gaming is a super cool idea, and we're still relatively early in the modern iterations of this concept, but it is still fraught with challenges. Ignoring some of the business-related churn like Google scaling back their Stadia product, or the whole "do I actually own any of this cloud-based content?" stuff (answer: no), cloud gaming struggles to be as performant as connecting a console directly to your TV because of latency. Even with gigabit internet speeds, your gaming controller has to send a signal to your local gaming client, the client has to process and send that signal out to a data center (which is hopefully reasonably close to where you live), a response has to be sent back from the data center to your client device, and then your client has to render that content on your display. Along the way, infrastructure, ISPs, your home network, and various electromagnetic gremlins are all conspiring to hinder your game's performance.
It's amazing how performant cloud gaming services are: Google and NVIDIA's offerings seem to perform in the low-hundreds-of-milliseconds range including both input lag and round-trip latency, and getting better all the time - but even at those speeds, it's a noticeable performance hit especially if you're used to playing games locally. John Carmack, who generally knows what he's talking about when it comes to gaming, says that, "[h]uman sensory systems can detect very small relative delays in parts of the visual or, especially, audio fields, but when absolute delays are below approximately 20 milliseconds they are generally imperceptible."
So here we are at this really cool inflection point where we have a promising mix of high-efficiency multimedia encoding, high-speed home networks (including wifi), and a tremendous amounts of raw processing horsepower in consumer-grade devices. What if we take out the cloud gaming service provider, and instead create an in-home version of something similar that has less latency?
In-home, low-latency game streaming with a gaming PC using the devices you already own
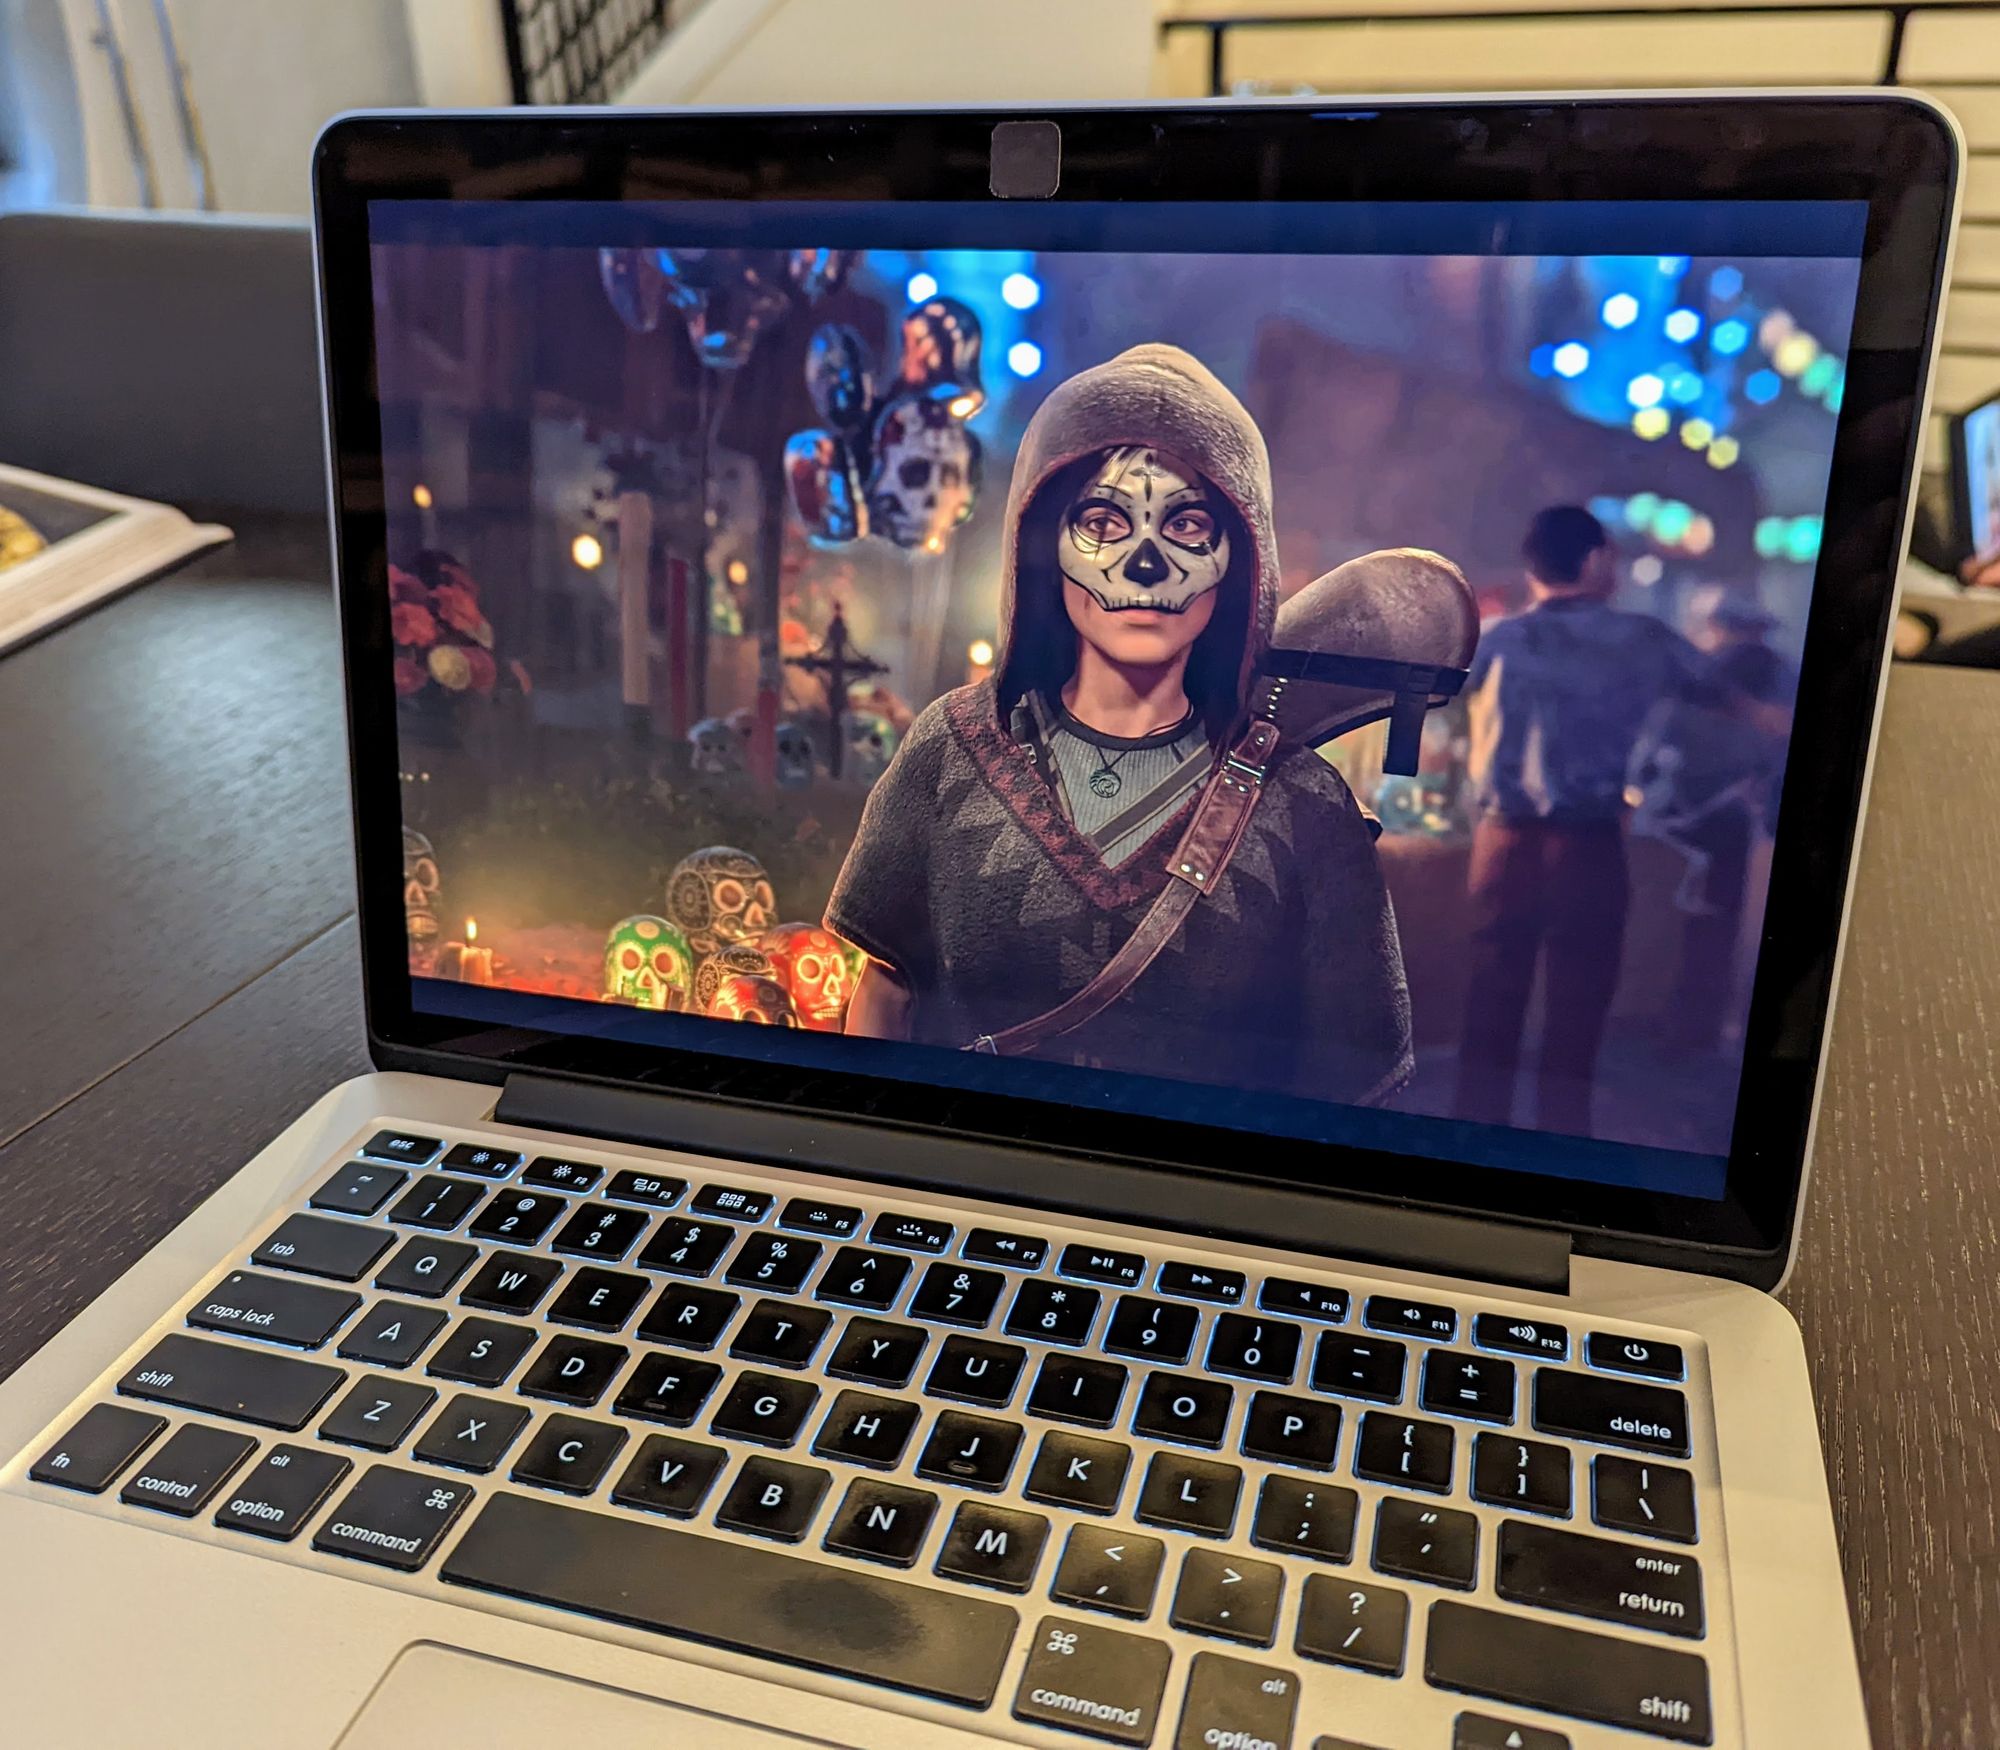
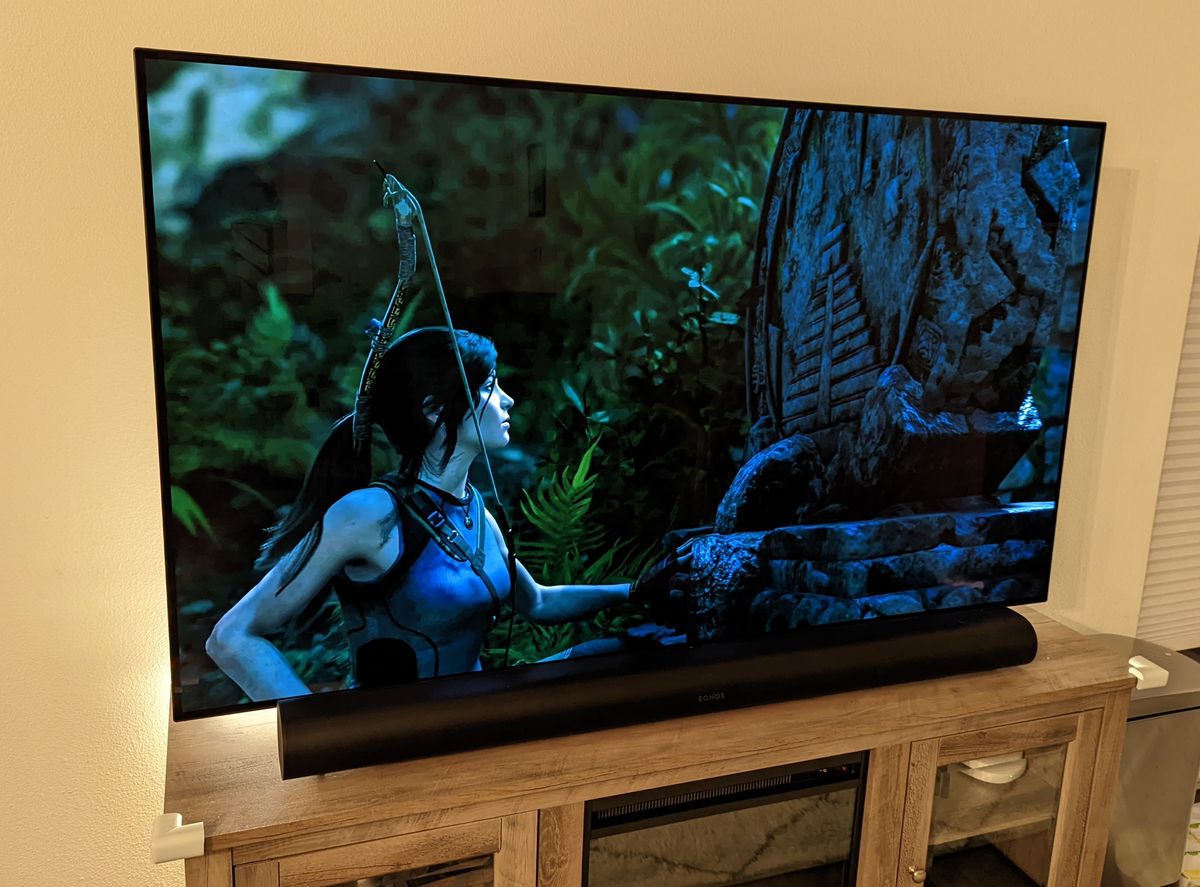
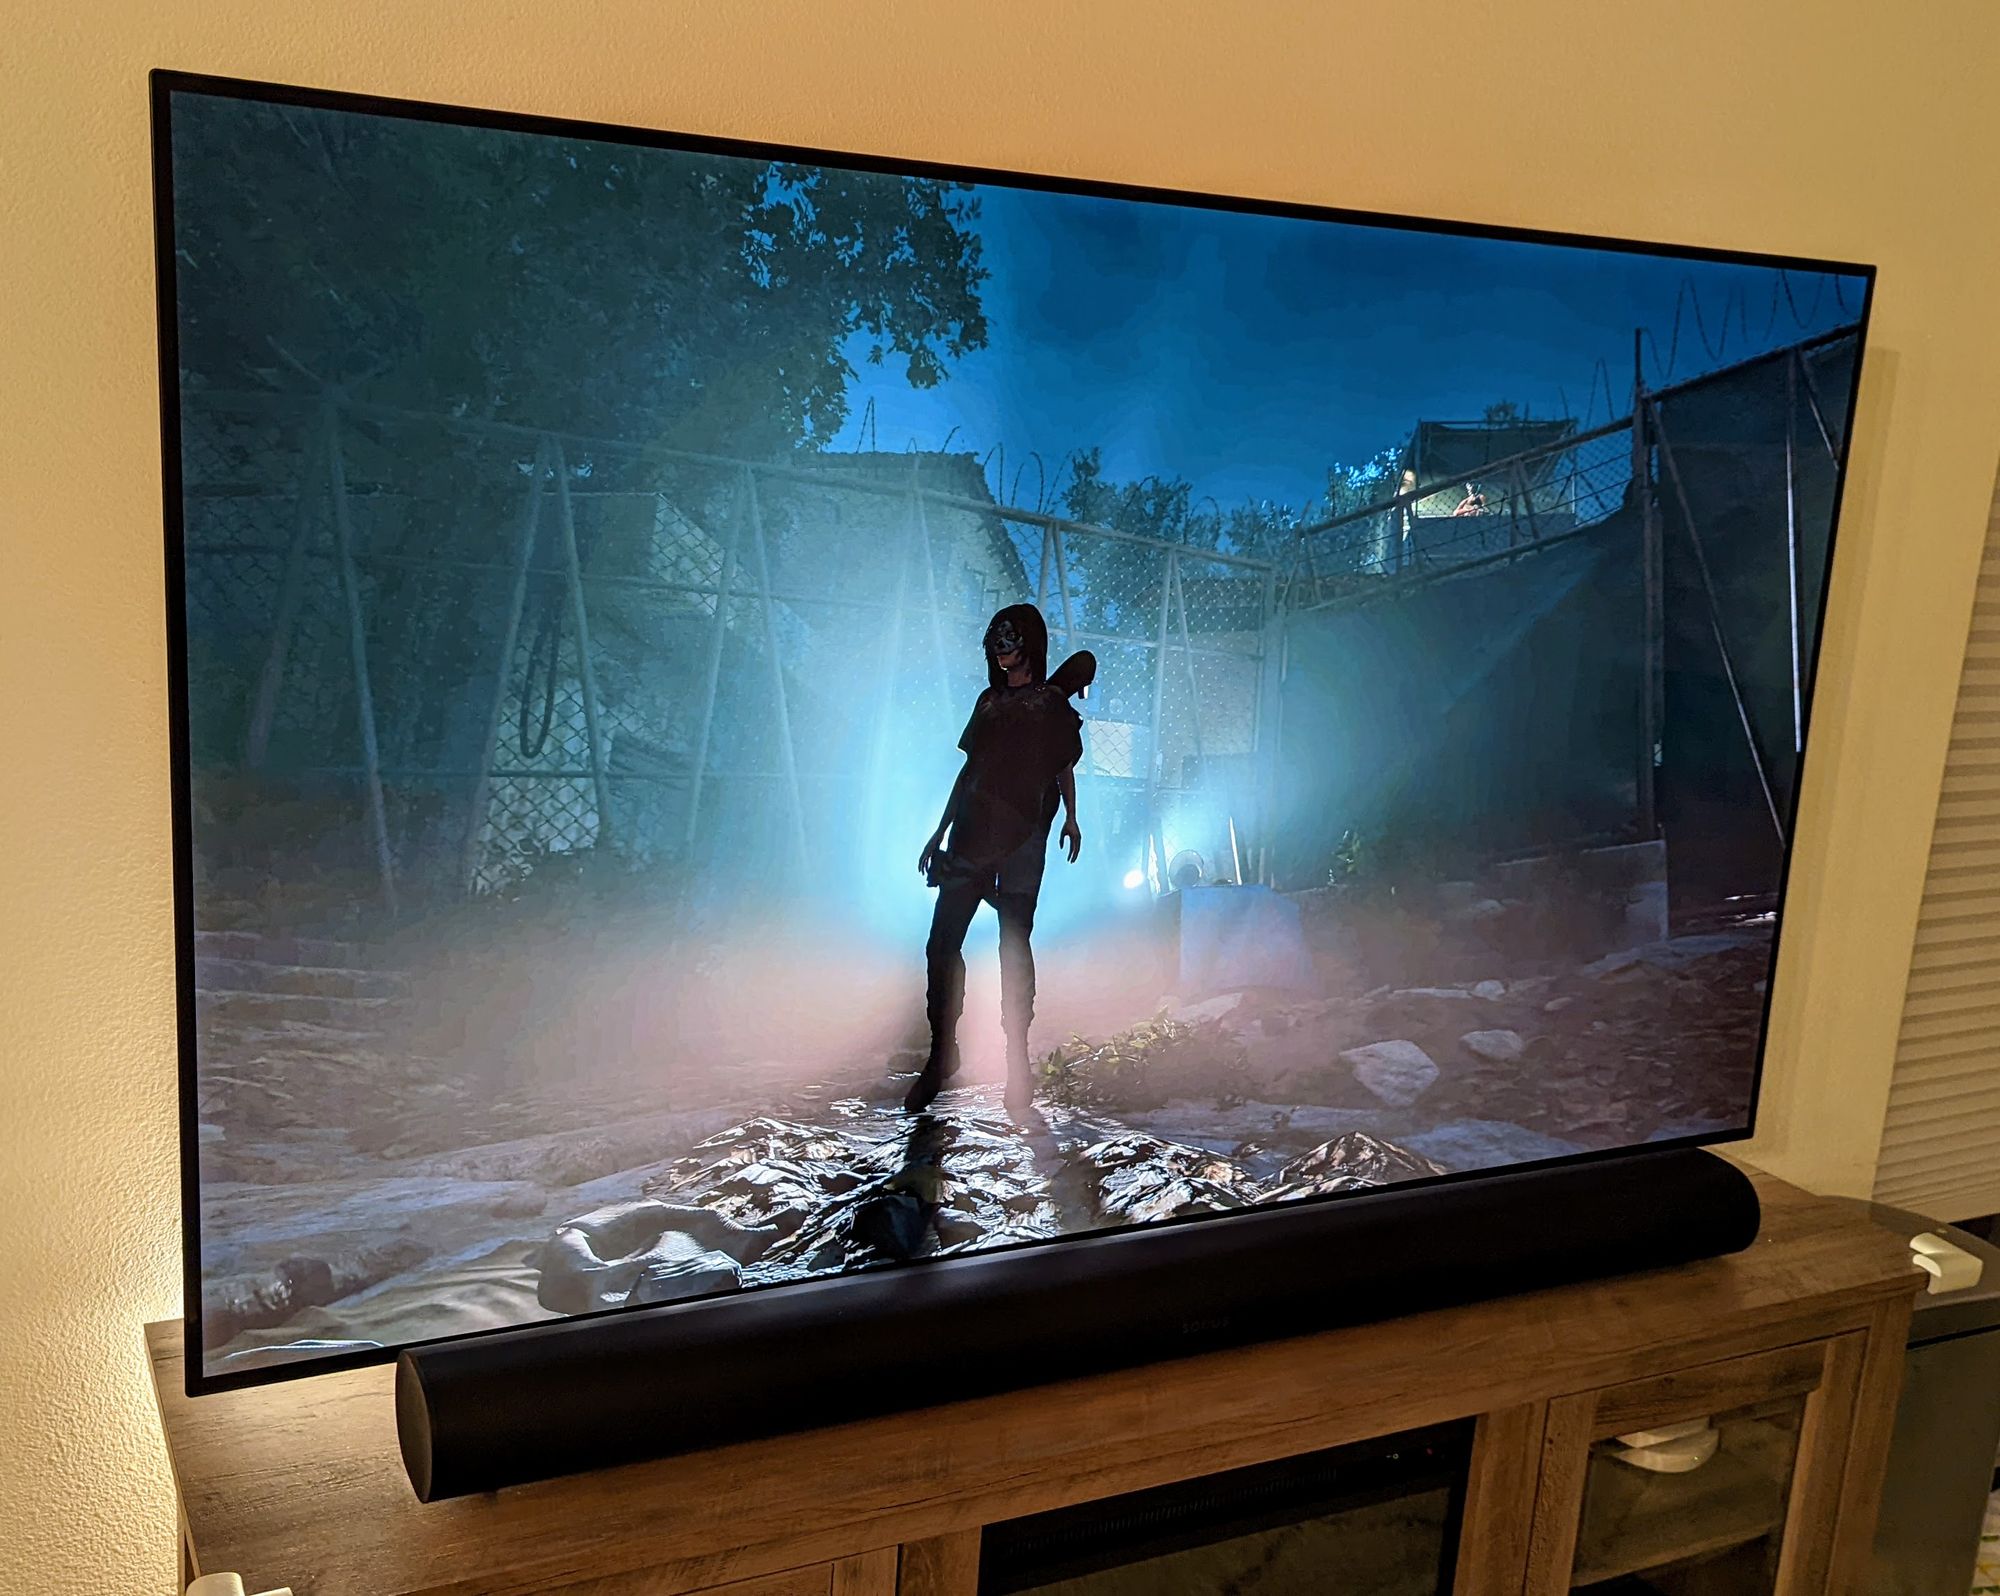
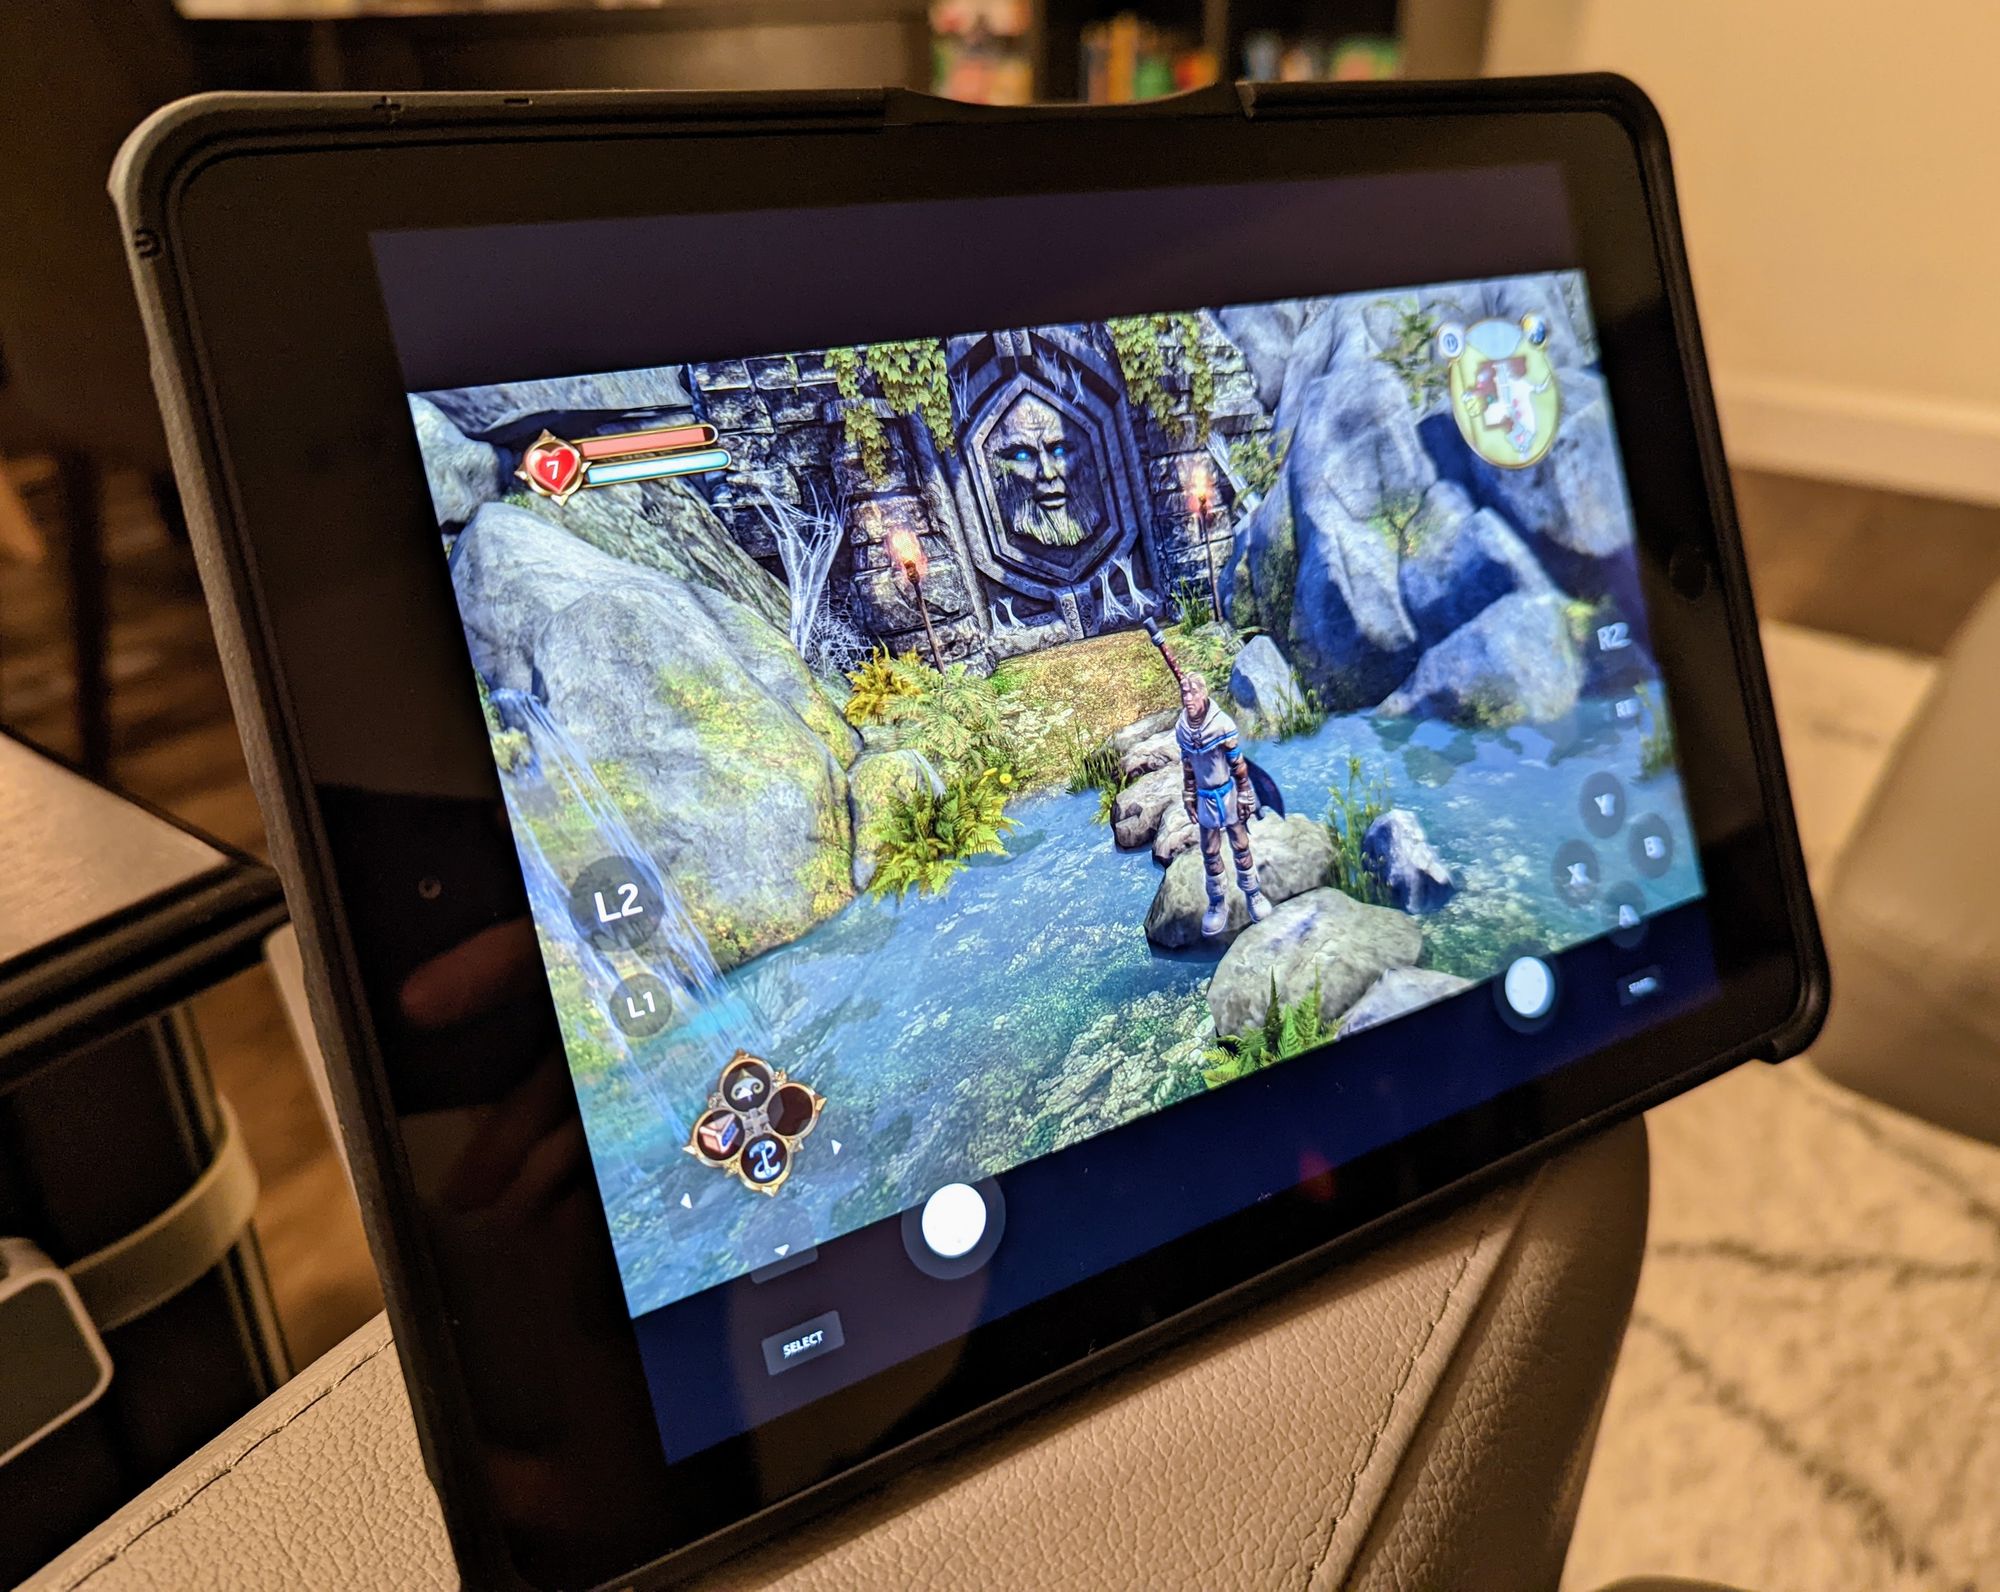
Here's my situation: I have a spectacular work/gaming desktop PC. I use it full-time for my job, and outside of work, thanks to its extremely-overkill NVIDIA GeForce RTX 3090 graphics card, I can throw pretty much any game at it on the highest settings. My preferred way to play competitive online video games is at my PC using a mouse and keyboard, but there are lots of times where I want to hang out in my living room, relax on the couch, and play a narrative-driven single-player game on my TV with a controller. It would also be awesome to be able to play these resource-intensive PC games on a mobile phone or tablet, wouldn't it?
Rather than buying a gaming console, we can lean on all of this wonderful technology that makes cloud gaming possible, but do it within our own home. That means you can have a single gaming PC in your house, and stream it to any other devices like your TV, laptop, or mobile devices like phones and tablets with better performance than you could get from a cloud gaming provider (like 10-20 milliseconds locally vs. 150+ ms with game streaming services). Plus, you'll have more control over graphics, performance, and your gaming catalog – not to mention that with my NVIDIA GeForce RTX 3090 graphics card, I'll be able to render games at visual settings that are much higher than most consoles can achieve.
About this guide
In this guide, I'll walk you through how I set up my gaming PC to stream content over my local network so I can play games on my TV and other devices, and hopefully save you some time from the research and trial-and-error that I did along the way.
My approach uses NVIDIA's GameStream protocol to stream games, coupled with a free and open-source client implementation of GameStream called Moonlight, connected to my TV using an relatively cheap streaming device like the Google Chromecast (which is what I started with and then later upgraded to a NVIDIA Shield Pro).
Prerequisites
There are a few things I'll call out here as prerequisites for the approach I took. There are plenty of other ways to accomplish the same end goal, but for simplicity, I'm just going to focus on just one approach here.
To follow this guide, you'll need:
- A device which can run the Moonlight game streaming client, which is where you'll actually play your games. In my case, I started with a Google Chromecast connected to my TV and later upgraded to an NVIDIA Shield Pro, but you could use any device listed on Moonlight's website, including Windows/Mac/Linux computers and laptops, Apple and Android mobile devices and tablets, or even Raspberry Pis.
- A gaming PC running a modern version of Windows. I'm using Windows 10. (Update: As of mid-2022, I'm now using Windows 11, and everything continues to work just fine.)
- An NVIDIA GeForce GTX or RTX graphics card. Moonlight says you need a NVIDIA GeForce GTX/RTX 600+ series GPU, or NVIDIA Quadro GPU (Kepler series or later); but in general, the more powerful, the better. I'm using a GeForce RTX 3090, but to be clear, it's ridiculously overpowered for this use case.
- NVIDIA's GeForce Experience software installed on your computer (which is free and is typically installed by default with your graphic's card's drivers).
- A high-speed network in your house. Ideally, you'll want all of your devices connected to your local network via ethernet, but if you're using wifi, faster is always better.
Step 1: Set up your gaming PC to host your local cloud gaming service
Enabling NVIDIA's GameStream feature
A heads up: Sunshine's documentation is high quality, but not the most user-friendly. You basically just need to download and install one application to get started.
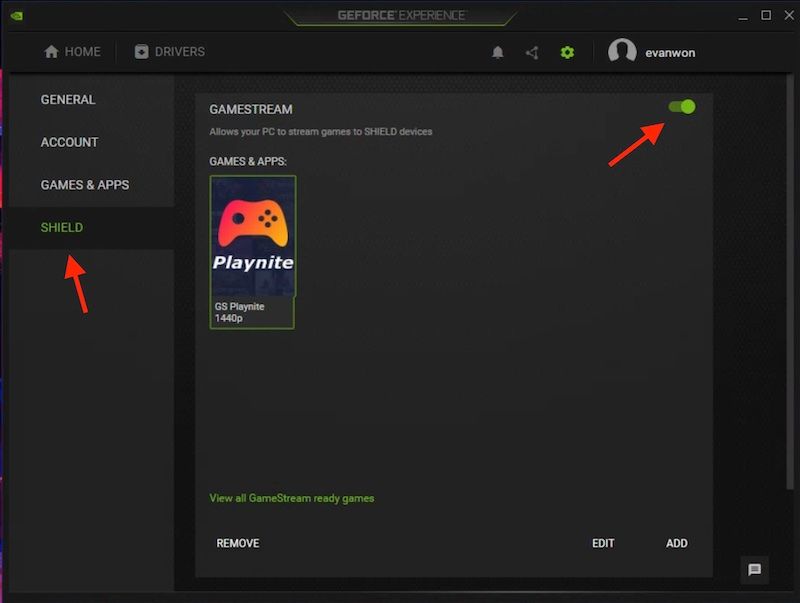
This part was surprisingly easy: If you have a NVIDIA GeForce GTX or RTX graphics card in your gaming PC, the included NVIDIA GeForce Experience software has a built-in feature called GameStream which was developed to stream game content with low latency.
Since we're going to be using Moonlight (which is an open-source implementation of GameStream) on our client device, you can simply follow Moonlight's guide on configuring your gaming PC to stream games. In short, you just need to enable the GameStream setting in the Geforce Experience application (which is disabled by default), and NVIDIA does most of the heavy lifting for you.
Browsing and launching games
One moderate annoyance I encountered after I got my whole setup running end-to-end was that Nvidia's GameStream feature wasn't detecting all of the games on my gaming PC. There is a relatively simple way to manually add games to GameStream, but I ended up encountering a ton of little paper cuts due to some games not working properly when launched outside of their proprietary launchers (looking at you, Epic Games store and Blizzard's Battle.net launcher).
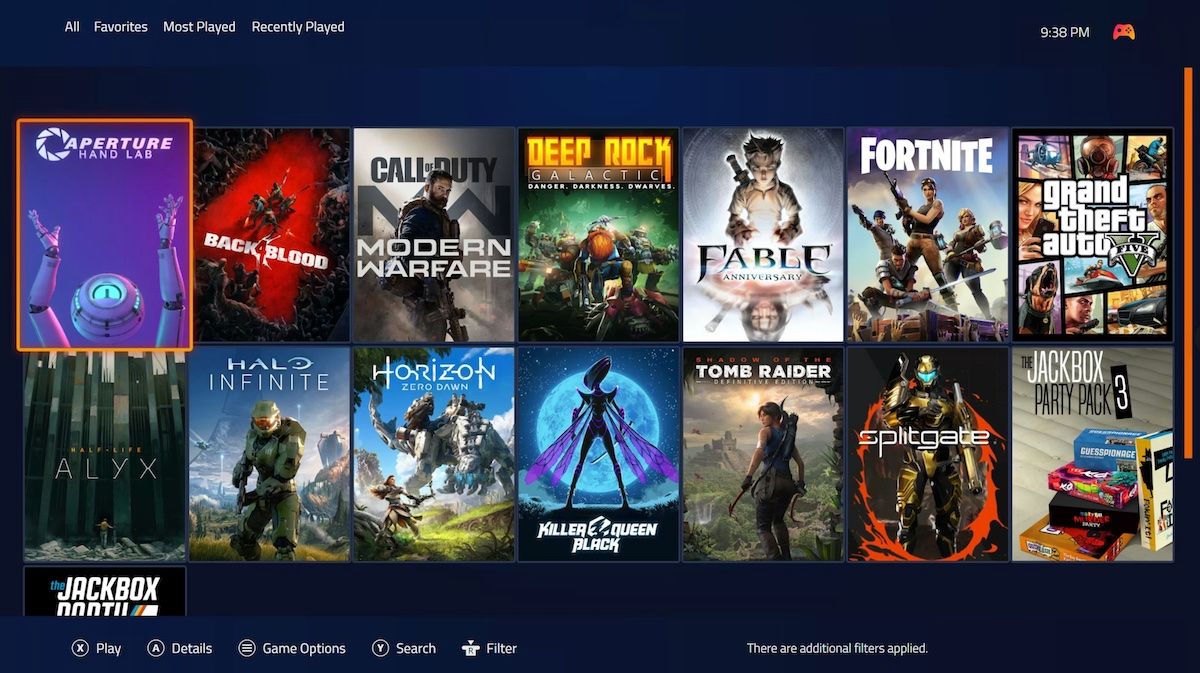
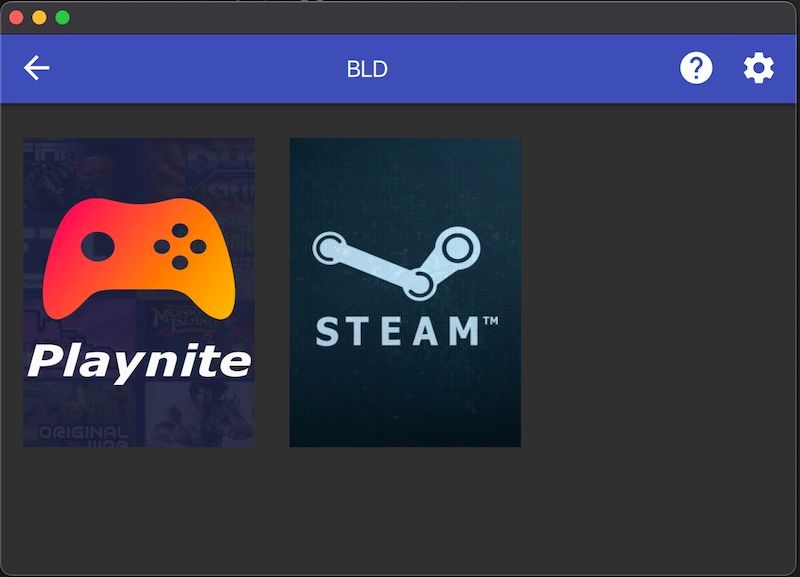
Here's a pro tip: Don't add games manually to GameStream; instead, use an awesome cross-launcher game library manager like Playnite (which is free and open source) to aggregate all of your games into a single launcher, and then simply add Playnite to GameStream. Seriously, I did hours of trial-and-error trying to get games like Shadow of the Tomb Raider (from the Epic Games store) and Call of Duty: Modern Warfare (from Battle.net) added properly into GameStream, and it was super frustrating. Now, Playnite does all of the work for me, integrating with game platforms like Steam, Epic Games, Origin, and Battle.net, and it has a simple, easy-to-use, controller-friendly browsing experience that is very similar to Steam's Big Picture mode.
It's easy enough to manually add the Playnite executable to GameStream just like any other game, but to simplify things even further, I found a nice set of open-source launcher scripts for Playnite called GameStream Launchpad created by Corey Garst (thanks, Corey!), and all you need to do is manually add one of the pre-configured Playnite .bat files to GameStream and everything Just Worked™️.
Another minor annoyance I encountered was that some PC games like to launch a game-specific launcher before you get into the game itself. For example, whenever I launched Shadow of the Tomb Raider, it opened up a mini game launcher that didn't support controller input.
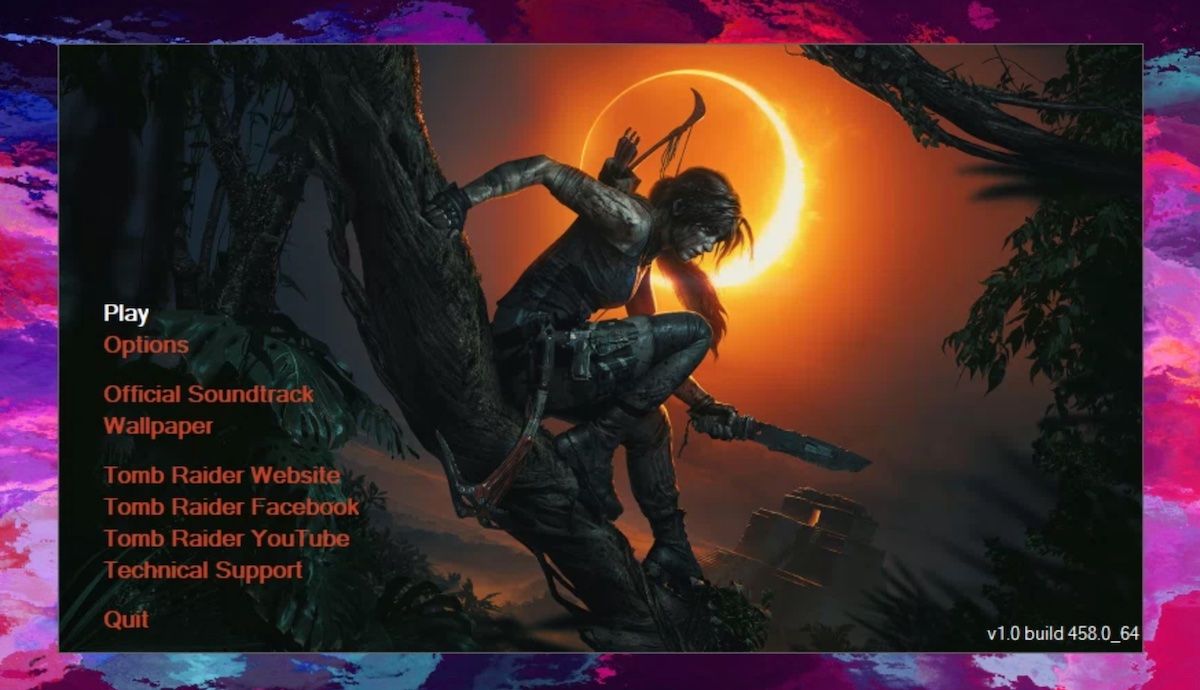
One option would be to use some type of remote desktop software to access your gaming PC and click through the launcher (or in Moonlight, you can hold the Start button on your controller to temporarily enable mouse emulation mode and then click Play), but the better fix was to disable the game's launcher altogether. This kind of thing varies from game-to-game, but most of the time, you simply need to add a command line argument to game's startup parameters (which, in Playnite, can be done by adding an Action to a game and specifying the arguments there).
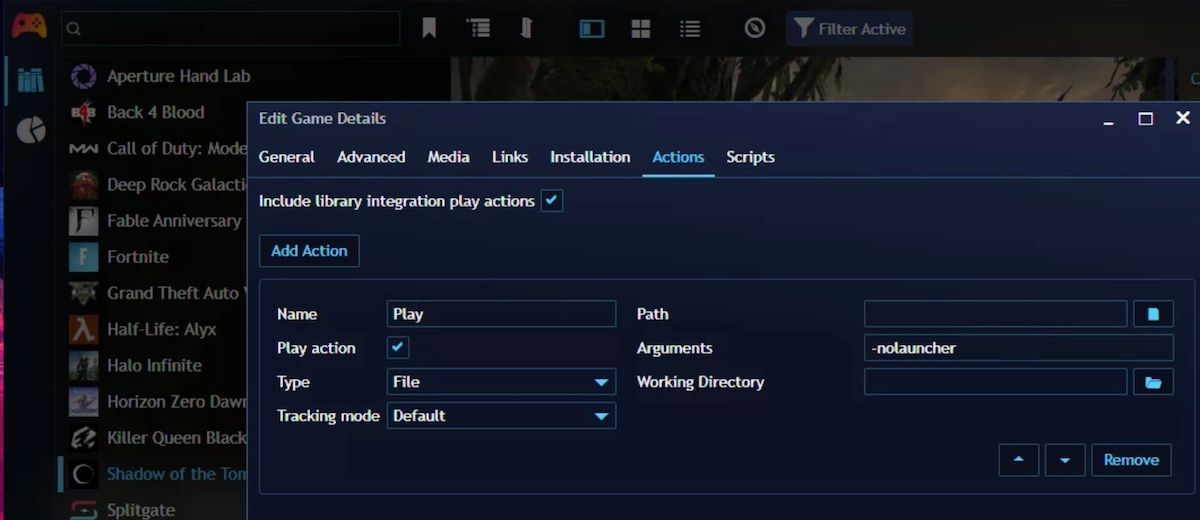
-nolauncher argument when the game starts.Starting your gaming PC remotely
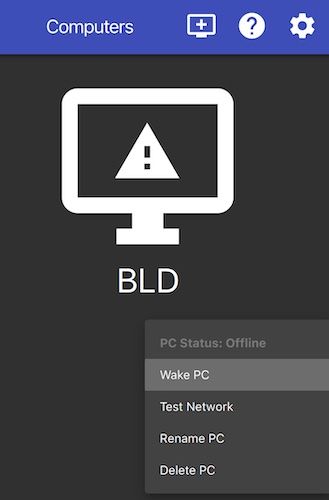
If you're like me, your PC automatically goes to sleep after a relatively short period of inactivity. This is a good thing (c'mon folks, electricity costs money and let's try not to destroy the environment any faster than we already are), but that means that your "gaming service" is offline whenever your computer falls asleep.
A super easy fix for this (aside from, uh, physically going to your PC) is to enable a feature like Wake on LAN on your gaming PC, which nowadays typically needs to be done in its BIOS and generally requires an Ethernet connection. Once this feature is enabled, the Moonlight client has a built-in feature that can send the wake signal (also known as a "magic packet") to your PC to wake it up. I've also used the free Android app Wake On LAN to do the same thing.
You'll also probably need a way to unlock your PC, assuming you have some sort of password protection on it like I do. If you're using a device with a keyboard as your gaming client (like a laptop or mobile device), this is easy: you can simply type on its keyboard to log in.
But if you're like me and are playing on your TV, you may not have a keyboard connected. In my case, I have Chrome Remote Desktop running on my PC and simply use the Chrome Remote Desktop app on my phone to quickly connect to my PC and type in my password. There's probably a way to further simplify this (and of course, if you're willing to accept the associated risks, you could disable your PC's password altogether, which I don't recommend), but I'm comfortable with the 30ish seconds it takes to type in my PIN via my phone.
Step 2: Using Moonlight on whatever device you want to use for gaming
Ok, all of that stuff we did in Step 1 now pays off and it's time to play some games. At this point, you can basically go to Moonlight's website and install the appropriate client on whatever type of device you're using and you're ready to start gaming.
As I mentioned, my use case is that I want to play games on my couch, on my TV, using a gaming controller. I used a Chromecast with Google TV (aka "CCwGTV"; ugh, these product names, Google). I've had Chromecast devices connected to my TVs for years and frequently use them to stream content from my phone to my TV like YouTube and Twitch. The CCwGTV is about $50, and since it runs Android, I was able to easily install the Moonlight client from the Android app store. Plus, CCwGTV supports Bluetooth video game controllers and has an optional upgrade to add ethernet internet connectivity (more on that later).
Because I set up Playnite earlier on my gaming PC (and manually added it in the GeForce Experience app), I don't open games directly in Moonlight – I just open up the Playnite app which then gives me access to that nice view of my game library I showed earlier. Easy peasy.
The faster your local network connection, the better
I won't belabor this too much: the way this whole thing works is that your gaming PC (with help from NVIDIA's GameStream magic) is encoding and compressing an incredible amount of audio and video data and sending that information to your client device as fast as possible. The faster your connection, the better the experience. At 1080p resolutions, Moonlight targets about 20 megabits-per-second (Mbps) of bandwidth, and at 1440 that jumps up to 40 Mbps. As you start going to even higher resolutions, like 4K, you're now pushing significantly more pixels than you were at 1080p, which really adds up and can cause noticeable performance issues in your game stream.
In-home game streaming definitely works via wifi, but hardwiring your gaming PC with an ethernet connection can make a big difference, and even more if you can hardwire your client device to ethernet as well. In my case, I already had my gaming PC connected to my router via ethernet, and I purchased a simple gigabit network switch to network-enable the rest of the ethernet ports in my house so that I could connect other devices to the network.
Upgrading the CCwGTV with a wired ethernet adapter made a really big improvement; when I was using wifi, the combined input latency from the controller and the latency/performance impact from wireless internet internet made some games difficult to play. I most noticed it during driving games (because lag equates to over-correcting and swerving all over the place) as well as shooters.
To upgrade your CCwGTV to use ethernet, Google sells an enhanced power adapter for CCwGTV for about $20 that adds an ethernet port directly to the power adapter (which I think is a clever approach), but I didn't know until after I purchased it that it maxes out at 100 Mbps. That may seem like a big limitation, especially if you have a gigabit (aka 1,000 Mbps) network in your house, but I was pleasantly surprised that the my performance was immediately better despite the limitation. That makes sense, since Moonlight's target bitrate for 1440p content is around 40 Mbps, which is less than half of what the 100 Mbps adapter offers. Even though my hardwired ethernet connection was slower on paper than my wifi connection, I had way better performance when hardwired, which I attribute to electromagnetic gremlins attacking my wifi devices.
Alternatively, you can buy a 3rd-party USB-C gigabit ethernet adapter that works with CCwGTV (like this one from Cable Matters) for only a few dollars more. As a note, I believe the CCwGTV's USB connection only supports something like 480 Mbps, so you won't see full gigabit speeds, but it's obviously a large improvement over the 100 Mbps from the OEM ethernet adapter and is still much more than you likely need to stream games. Also, from what I've read, CCwGTV is pretty finicky about its power supply, so you'll probably have to plug the USB-C adapter in with a higher-power adapter as some of the power will be lost to the hub itself.
If you can only use wifi, then faster is always better. There are a lot of different wifi standards out there (with one of the latest and fastest being WiFi 6, 802.11ax), but you need both a router that can produce those standards as well as devices that can consume them. And even if you're using a fast, modern version of wifi, you're still competing with electromagnetic interference, wireless bandwidth saturation, and all kinds of real-world issues that can bog down your performance. So, rather than trying to make a more reliable wireless network, just wire up your devices via ethernet if at all possible.
Chromecast vs. NVIDIA Shield Pro as a TV game client

I started with the Chromecast approach because I already owned the device (and if I didn't, they're relatively cheap and a great place to start). Overall, it worked really well, especially after I added the ethernet adapter. For (mostly) unrelated reasons, I later decided to upgrade to the more expensive NVIDIA Shield Pro, which is a similar but more powerful Android-based streaming device that connects to your TV (just like a Chromecast or Roku). Since Moonlight works with Android, I simply installed Moonlight on the Shield just like I did with my CCwGTV, added my PC via its IP address, and I was good to go.
Here are some brief comparison points between the CCwGTV and NVIDIA Shield Pro:
Pros - Chromecast with Google TV:
- It's cheaper. CCwGTV costs around $50 and is significantly cheaper than the NVIDIA Shield (although significantly less capable, to be fair).
- It supported Bluetooth gaming controllers. I'm using an Xbox wireless controller (most modern versions of Xbox controllers now support Bluetooth, but older models didn't). You could also use a Nintendo Switch Pro Controller which support Bluetooth, or other 3rd-party options. This was a really nice surprise – I expected this small, cheap, low-power device to have poor(er) performance here, but I was able to use my Bluetooth Xbox controller without any extra hardware or hacks.
- It supports wired ethernet (but you have to buy add-on hardware to enable it).
- It does non-gaming things well too: You can stream content from any popular app (like Netflix, Hulu, Disney+, etc.) because it runs on Android.
Pros - NVIDIA Shield Pro
- Built-in gigabit ethernet port to maximize network performance, no need to buy an adapter or 3rd-party hubs.
- Like CCwGTV, it supports Bluetooth gaming controllers. I haven't measured this, but I felt input latency was lower on the NVIDIA Shield compared to the CCwGTV.
- Includes NVIDIA's fancy "AI Upscaling" feature, which can intelligently convert lower-resolution content (like 1080p) to very compelling 4K. I mainly wanted this for when I'm watching lower-definition TV shows and movies, but as an added bonus: you can stream your games at 1080p or 1440p (saving both bandwidth and computing power, the latter mattering most if you have a lower-end graphics card) and I have to say, the 4K AI upscale is super impressive in my tests.
- Has relatively beefy hardware specs, despite being a few years old, which translates to an overall more responsive UI and gaming experience (including outside of gaming).
- Has onboard USB ports, allowing you to connect a gaming controller or other peripheral devices for further input latency reduction.
- It seems to have better support for multi-channel audio (e.g. 5.1 and 7.1 surround sound) via Moonlight. On my Chromecast, Moonlight would fail to start up if I had anything other than stereo audio enabled, but seems totally fine on my Shield. This isn't a big deal though, since most games don't really take advantage of multi-channel audio (at least not yet).
Ultimately, I'm glad I upgraded from the Chromecast to the NVIDIA Shield Pro, but it was quite a bit more expensive than the Chromecast approach which kinda defeats the purpose of using it to replace a gaming console. Instead, if you're going to get something like the Shield, do it because it's an awesome media streaming device, and the 4K AI Enhanced upscaling feature is super cool, and then it's just icing on the cake that it does a great job at in-home game streaming. I haven't attempted to measure this, it definitely seems like there's less input lag when using my Xbox controller with the Shield Pro, and the built-in gigabit ethernet capability probably helps as well.
Conclusion

I'm super excited that I'm now able to leverage the ridiculous horsepower of my gaming PC on other devices in my house, and it's a nice side-effect that I can switch over directly to my gaming PC at any time and pick up right where I left off.
I'm mainly going to use this to play narrative-driven single-player games on my living room TV, but if I didn't have this persistent reading habit, I'd definitely be doing something similar to play games on my laptop, phone, or tablet elsewhere in the house. (Seriously, how much of a flex is it to have a AAA title running with ray tracing and max graphics settings on an old iPad?)